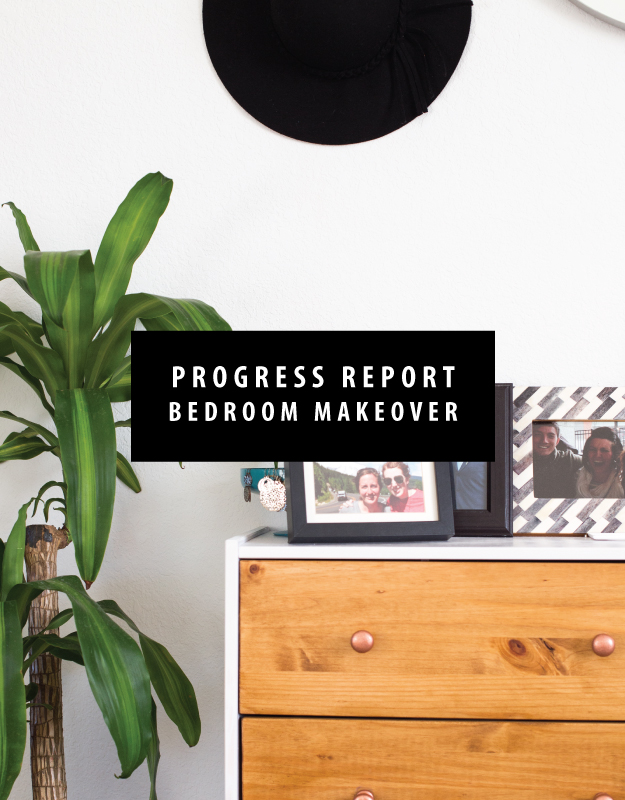
Over the past few months, I’ve been telling you all that I’ve been working on some home and DIY projects. While I have a few more projects to go, I wanted to give you all an update and share what I’ve been up to. If you’ve been following me on Instagram, you’ve probably seen a few of these images already. Inspired by some of my favorite materials and minimal design, my room is starting to look like a place I actually want to spend time in. To be honest, my bedroom usually is the last space I invest in. But with a few simple tricks and keeping a strict budget, I’m really pleased with how the room is shaping up.
The Challenge: A two-fold dilemma
Side one: I live with roommates. Around here, this is pretty common and something that varies the investment people make in their rentals. Money is often tight for students around here, meaning spaces don’t often get the love they deserve. It’s common to share a room with someone that values a different aesthetic to yourself, meaning compromise or sourcing items you may not love.
Side two: When it comes to designing this room, my primary goal was to avoid it looking like a dorm room or kids space. As I was looking for design inspiration, nearly every image I found with two twin beds had this vibe. I’m 28, so that really isn’t an option. I love things to be minimal, but are quality pieces and look expensive. I love white walls, a strong contrast of black, woven and wood textures, and pops of fresh greenery. I usually end up sourcing items from the Internet or take on DIY projects to get the desired look I want.
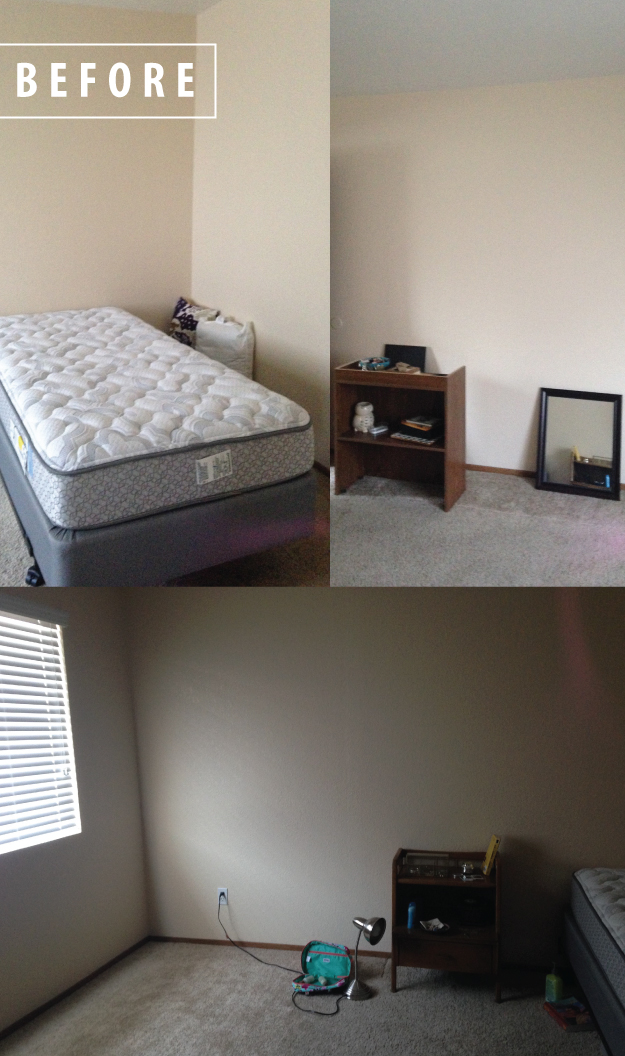
The space was empty with little furniture and needed some serious attention. With minimal interior design, furniture sourcing is super important. I went to Craigslist combing for an affordable midcentury pieces I could find and repurposed some items I had previously purchased. (A big tip! For household items you know you will no longer be using, take the time to post items for sale on Craigslist or in Facebook groups. I sold items I no longer wanted which helped cover costs for additional purchases.)
Progress
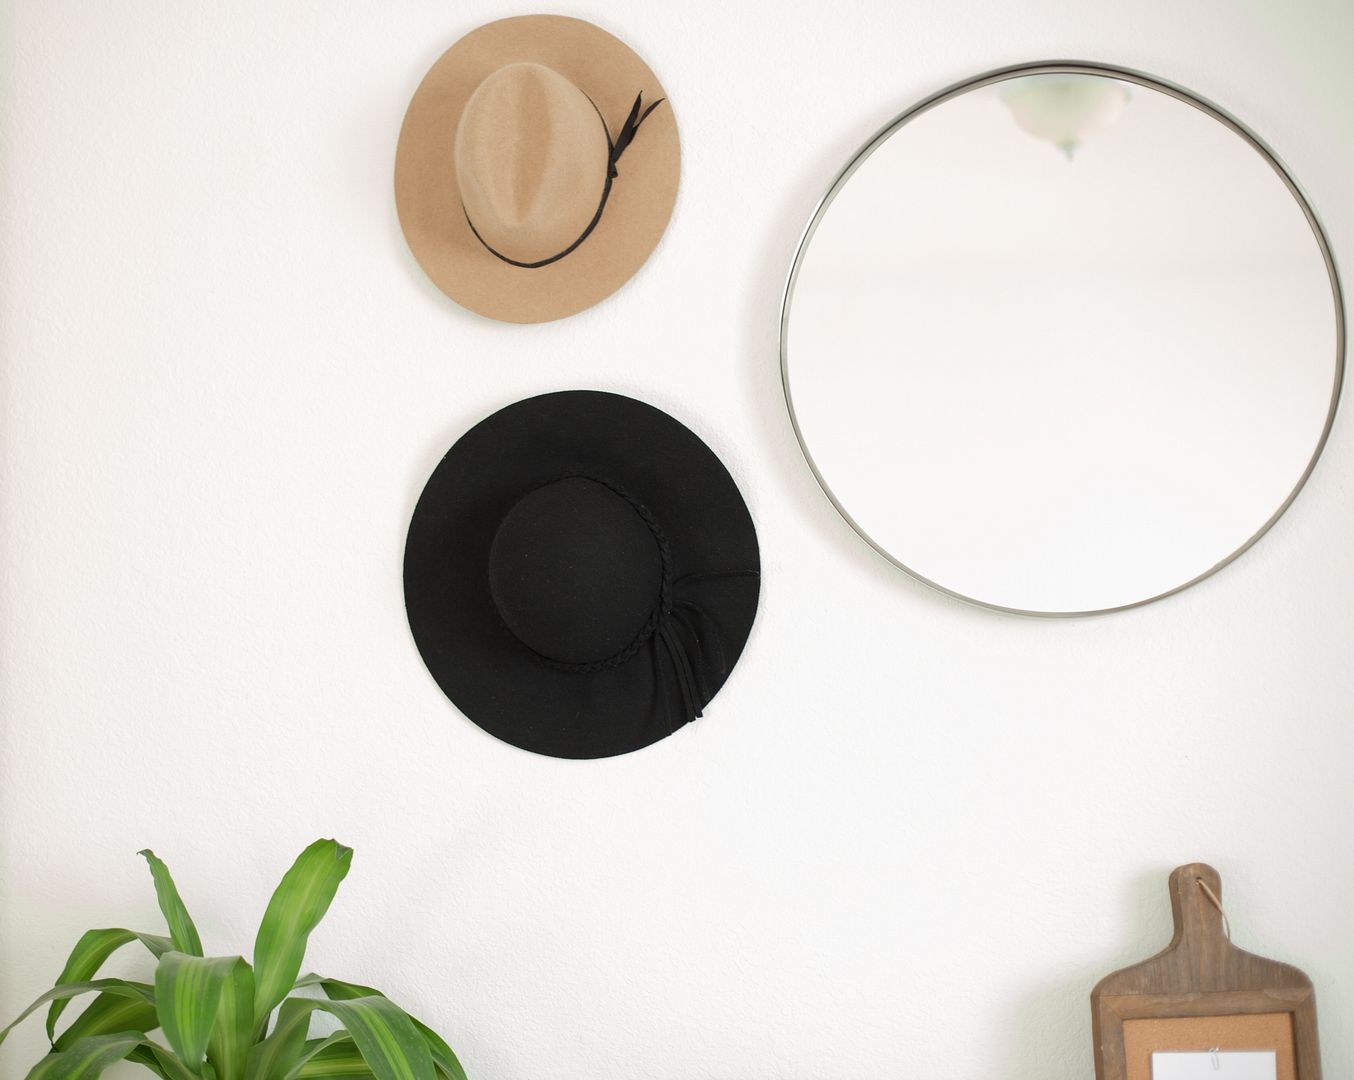
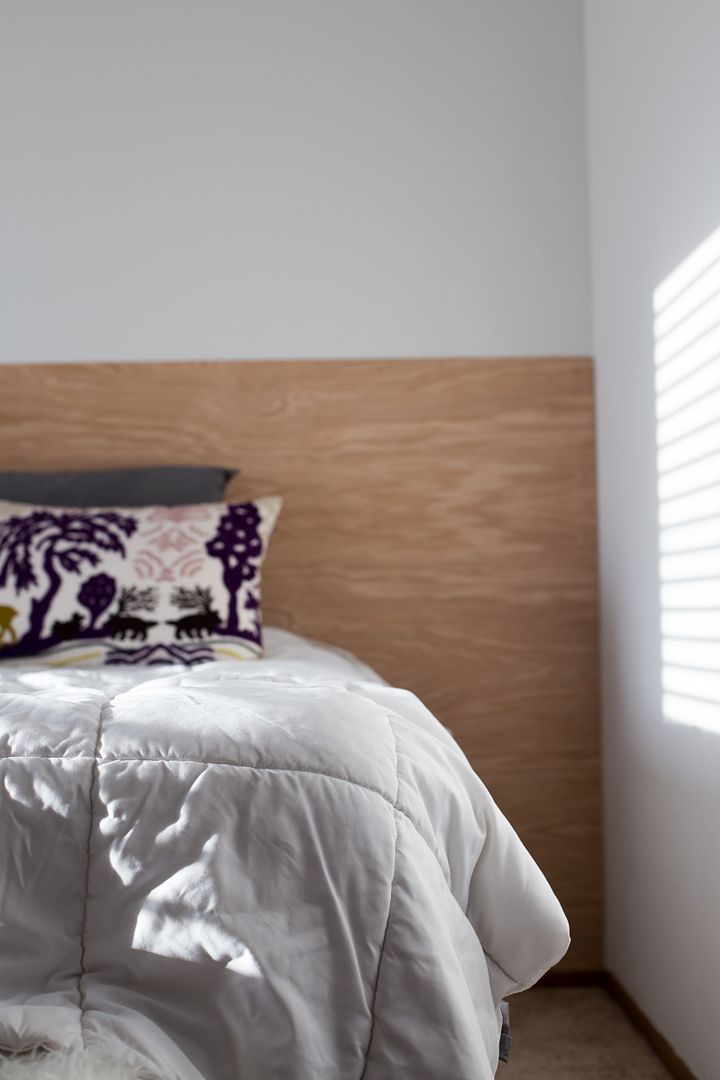
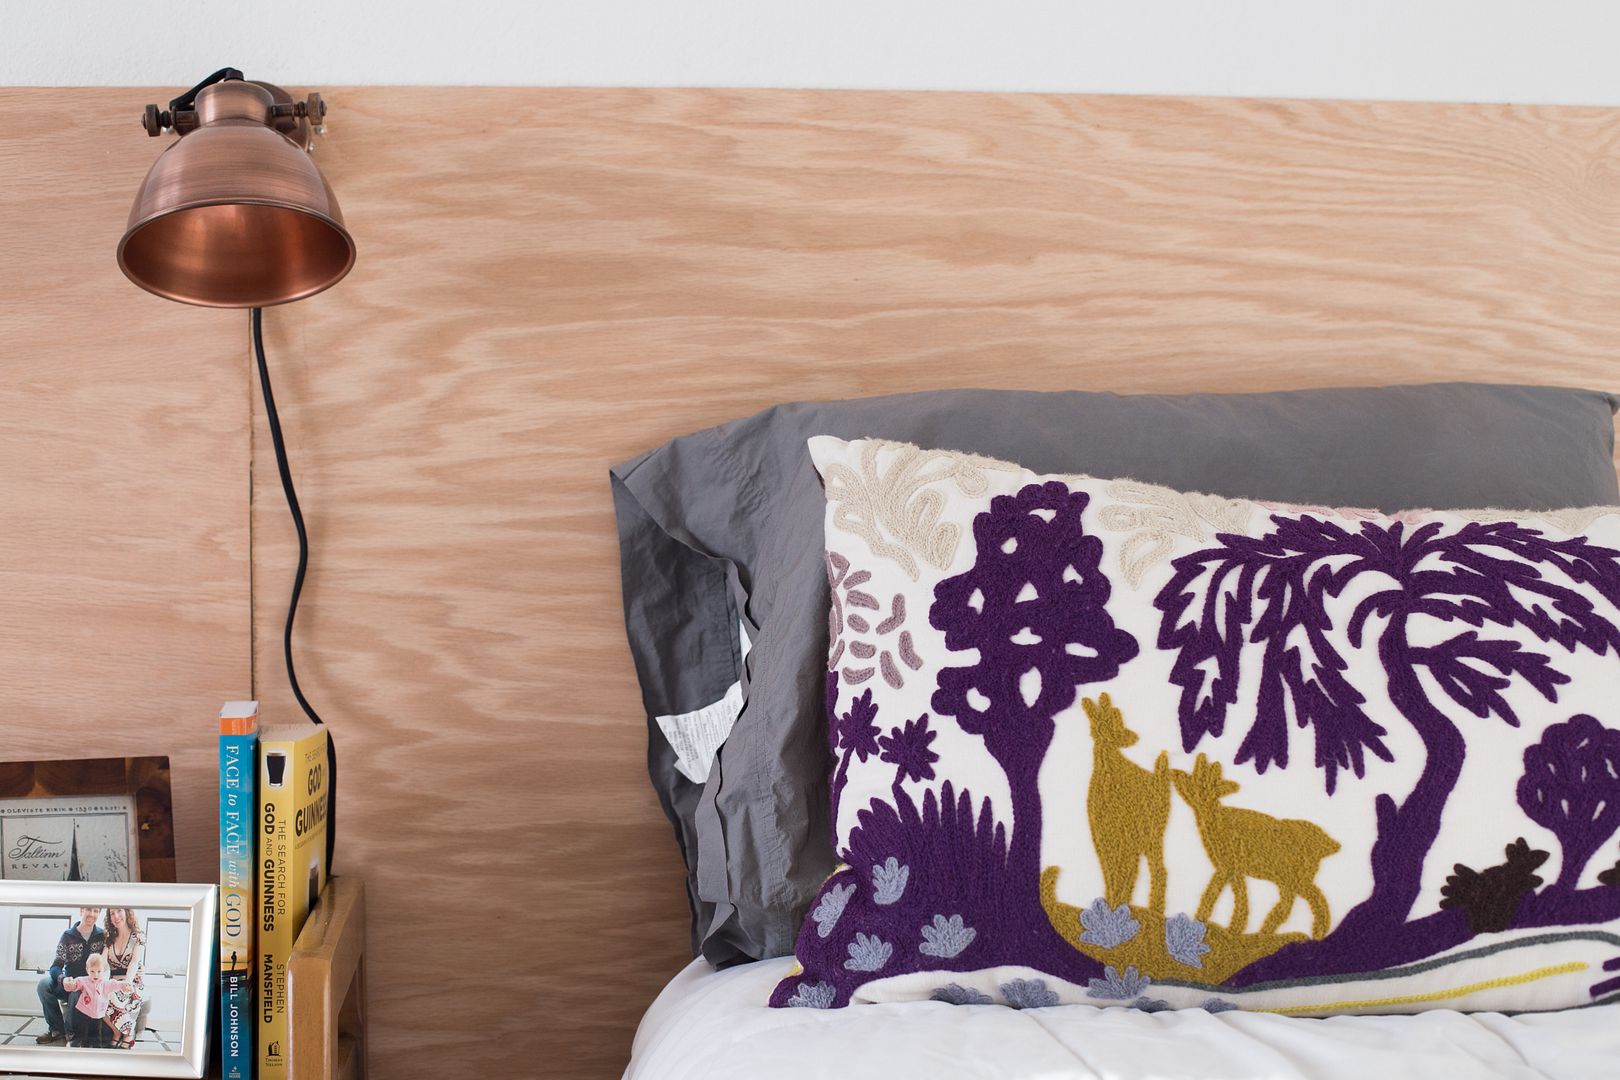
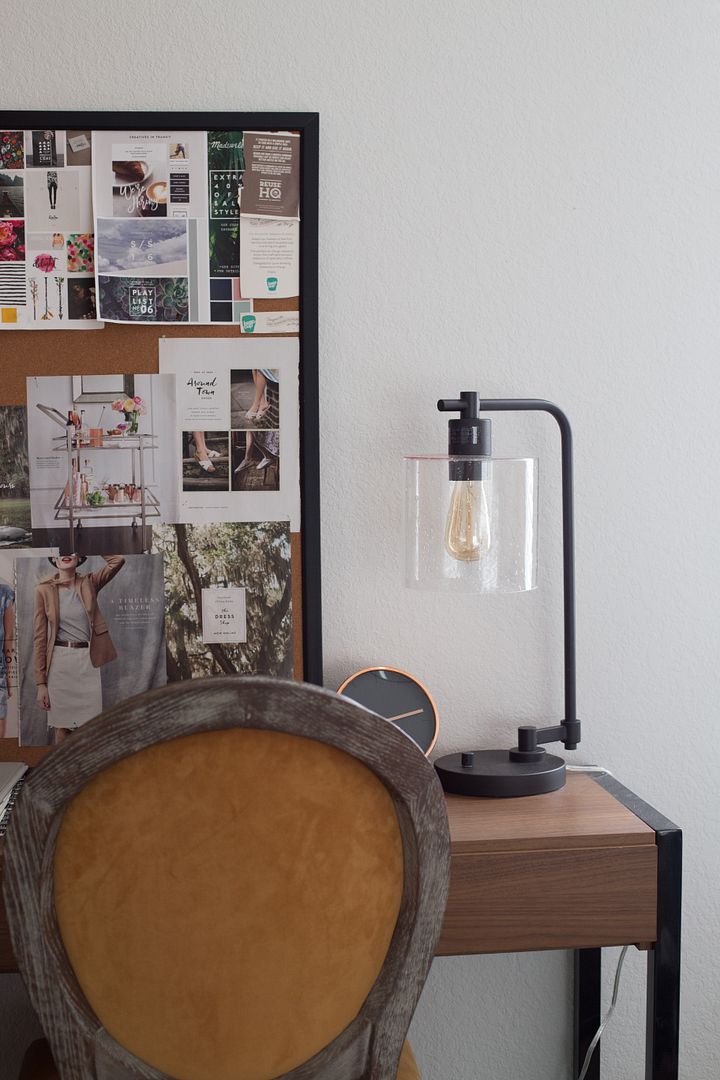
While I was super hesitant to take on a painting project in a rental, it made all the difference. (Make sure to talk to your landlord about this first.) I’ve lived in places where I’ve longed for white walls since moving to Redding (3 falls) and I can’t tell you how happy I am to finally have them. It truly makes all the difference for all the other pieces I added. The other big difference is the plywood lower wall. Using one and a half pieces of plywood and a few drywall anchors, it was a great and affordable solution when it came to featuring the beds and makes a big visual statement. For clothing storage, a midcentury paint and stain treatment on IKEA rast dressers was a great solution. Because the dressers are smaller in scale, it allowed for us to place additional storage at the foot of our beds, while keeping pathways clear. By hanging a large round mirror and balancing it out with hats on the wall, it added a bit of glam and visual interest to that side of the wall.
Finishing touches
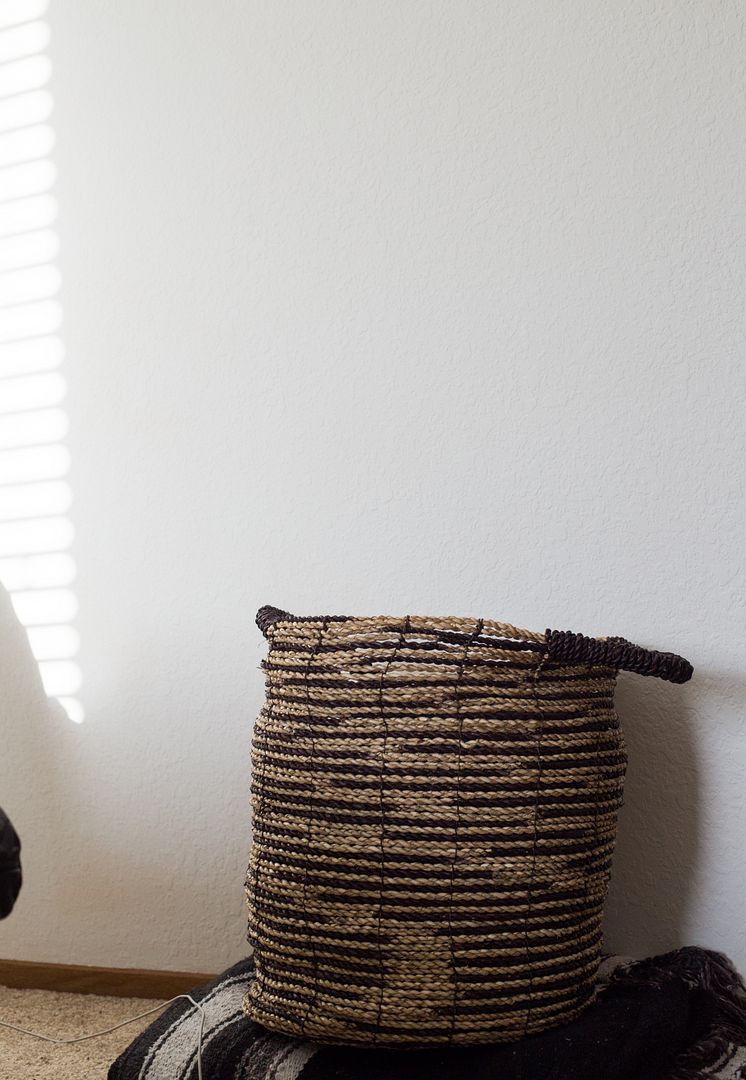
For the wall closest to the hallway we still need to install floating shelves, add a bit of artwork and hang the items that are currently leaning on the desk. I’m trying to figure out ways to manage clutter, add storage, and keep surfaces simple. That and plants. I love our big houseplant in the corner by the dresser and am looking for ways to add some additional greenery for texture and visual interest keeping your eye moving around the room. You’ll notice a few touches of bright copper finishes throughout the space. With a bit of copper spray paint, I might have a new obsession and love it. I’m trying to figure out sourcing or building a blanket ladder for a storing and displaying few mexican and turkish blankets I have. This would go to the right of the floating shelves.
Are you completing any home improvement projects or DIYs this fall?
Let us know in the comments below. I’d love to hear from you!

