

When I started blogging four years ago, the resources developed for food photography and styling were scarce. Four years later, you can quickly find ways to improve food photography. There are so many lessons, tips, and tricks I’ve learned over my blogging career. It’s a compilation of trial and error, skill development, and all the things I wish someone would have told me. Make sure to head to the bottom of the post where we share over 25 additional tricks, including working with all categories of food!
Let’s dive in!
Food Photography Styling & Basics
Shoot at three angles. 0, 45, and 180 degrees.
As you’re shooting food there are three natural angles to shoot from. By playing with light, texture, and props, you can shift these shots from ordinary to editorial status.
0 degrees. Shooting at eye level.
This shot is great for shooting in thirds and incorporating great props and shooting with a shallow depth of field. Playing with contrast or seamless backdrops, your images include stunning details. The stack of pancakes or cookie bars that are stunning, the height of sandwiches, this angle can be stunning and most cover images you’ll see on magazines or Pinterest are shot from 0 or 180 degrees.
45 degrees. From the table.
This is the shot you’ll most commonly see on Instagram. Shot from while seated in a chair, this angle is a top-down perspective where the main perspective is the dish itself. Learn prized plating and food styling (we’ll touch on this later down in the post) for this shot to add visual interest.
180 degrees. From an aerial perspective.
Also known as the flat lay, this shot provides you with the most freedom and creativity when laying out an image. Using triangular principles of movement, investing in high quality backdrops, food styling, and fresh ingredients, you can create stunning images from this perspective. This angle is great for both featured and editorial images alike!
Master the art of composition. Play with elements within the frame.
As you begin shooting, you’ll want to play with your composition. Start with shooting and thoughtfully review your images. Ask yourself what could make the image more interesting? How can you play with light? Do you need to disuse the light or lower your ISO for a moodier image. What textures are present? Is there a repeated use of triangles throughout the image? What can you add or take away to make it more interesting. Look for a cohesive color scheme and repeated elements throughout your image. For example, if you’re shooting a salad with greens, avocados, and micro greens, you can either keep your styling elements additional fresh ingredients or in a flat lay add lettuces, a halved avocado or jar of vinaigrette to the side.

Play with light.
With photography, it’s easy to think you need to invest in a great lighting setup and expensive gear to get the shots you need. It’s essential to shoot in natural light for bright and stunning images that draw your audience in. Head to the dollar tree for some basic boards that will serve you over and over again. At 50 cents each, sheets of black and white foam core serve as both backdrops and bounce cards (white will bounce light and black will absorb it). While you’re there, grab a white display board as well. This board with it’s edges can bounce light from all sides and it will remain freestanding (perfect if you’re shooting solo and don’t have someone else around to hold backdrops for you. I keep a roll of a few papers on hand to use as either seamless backdrops or to diffuse light on
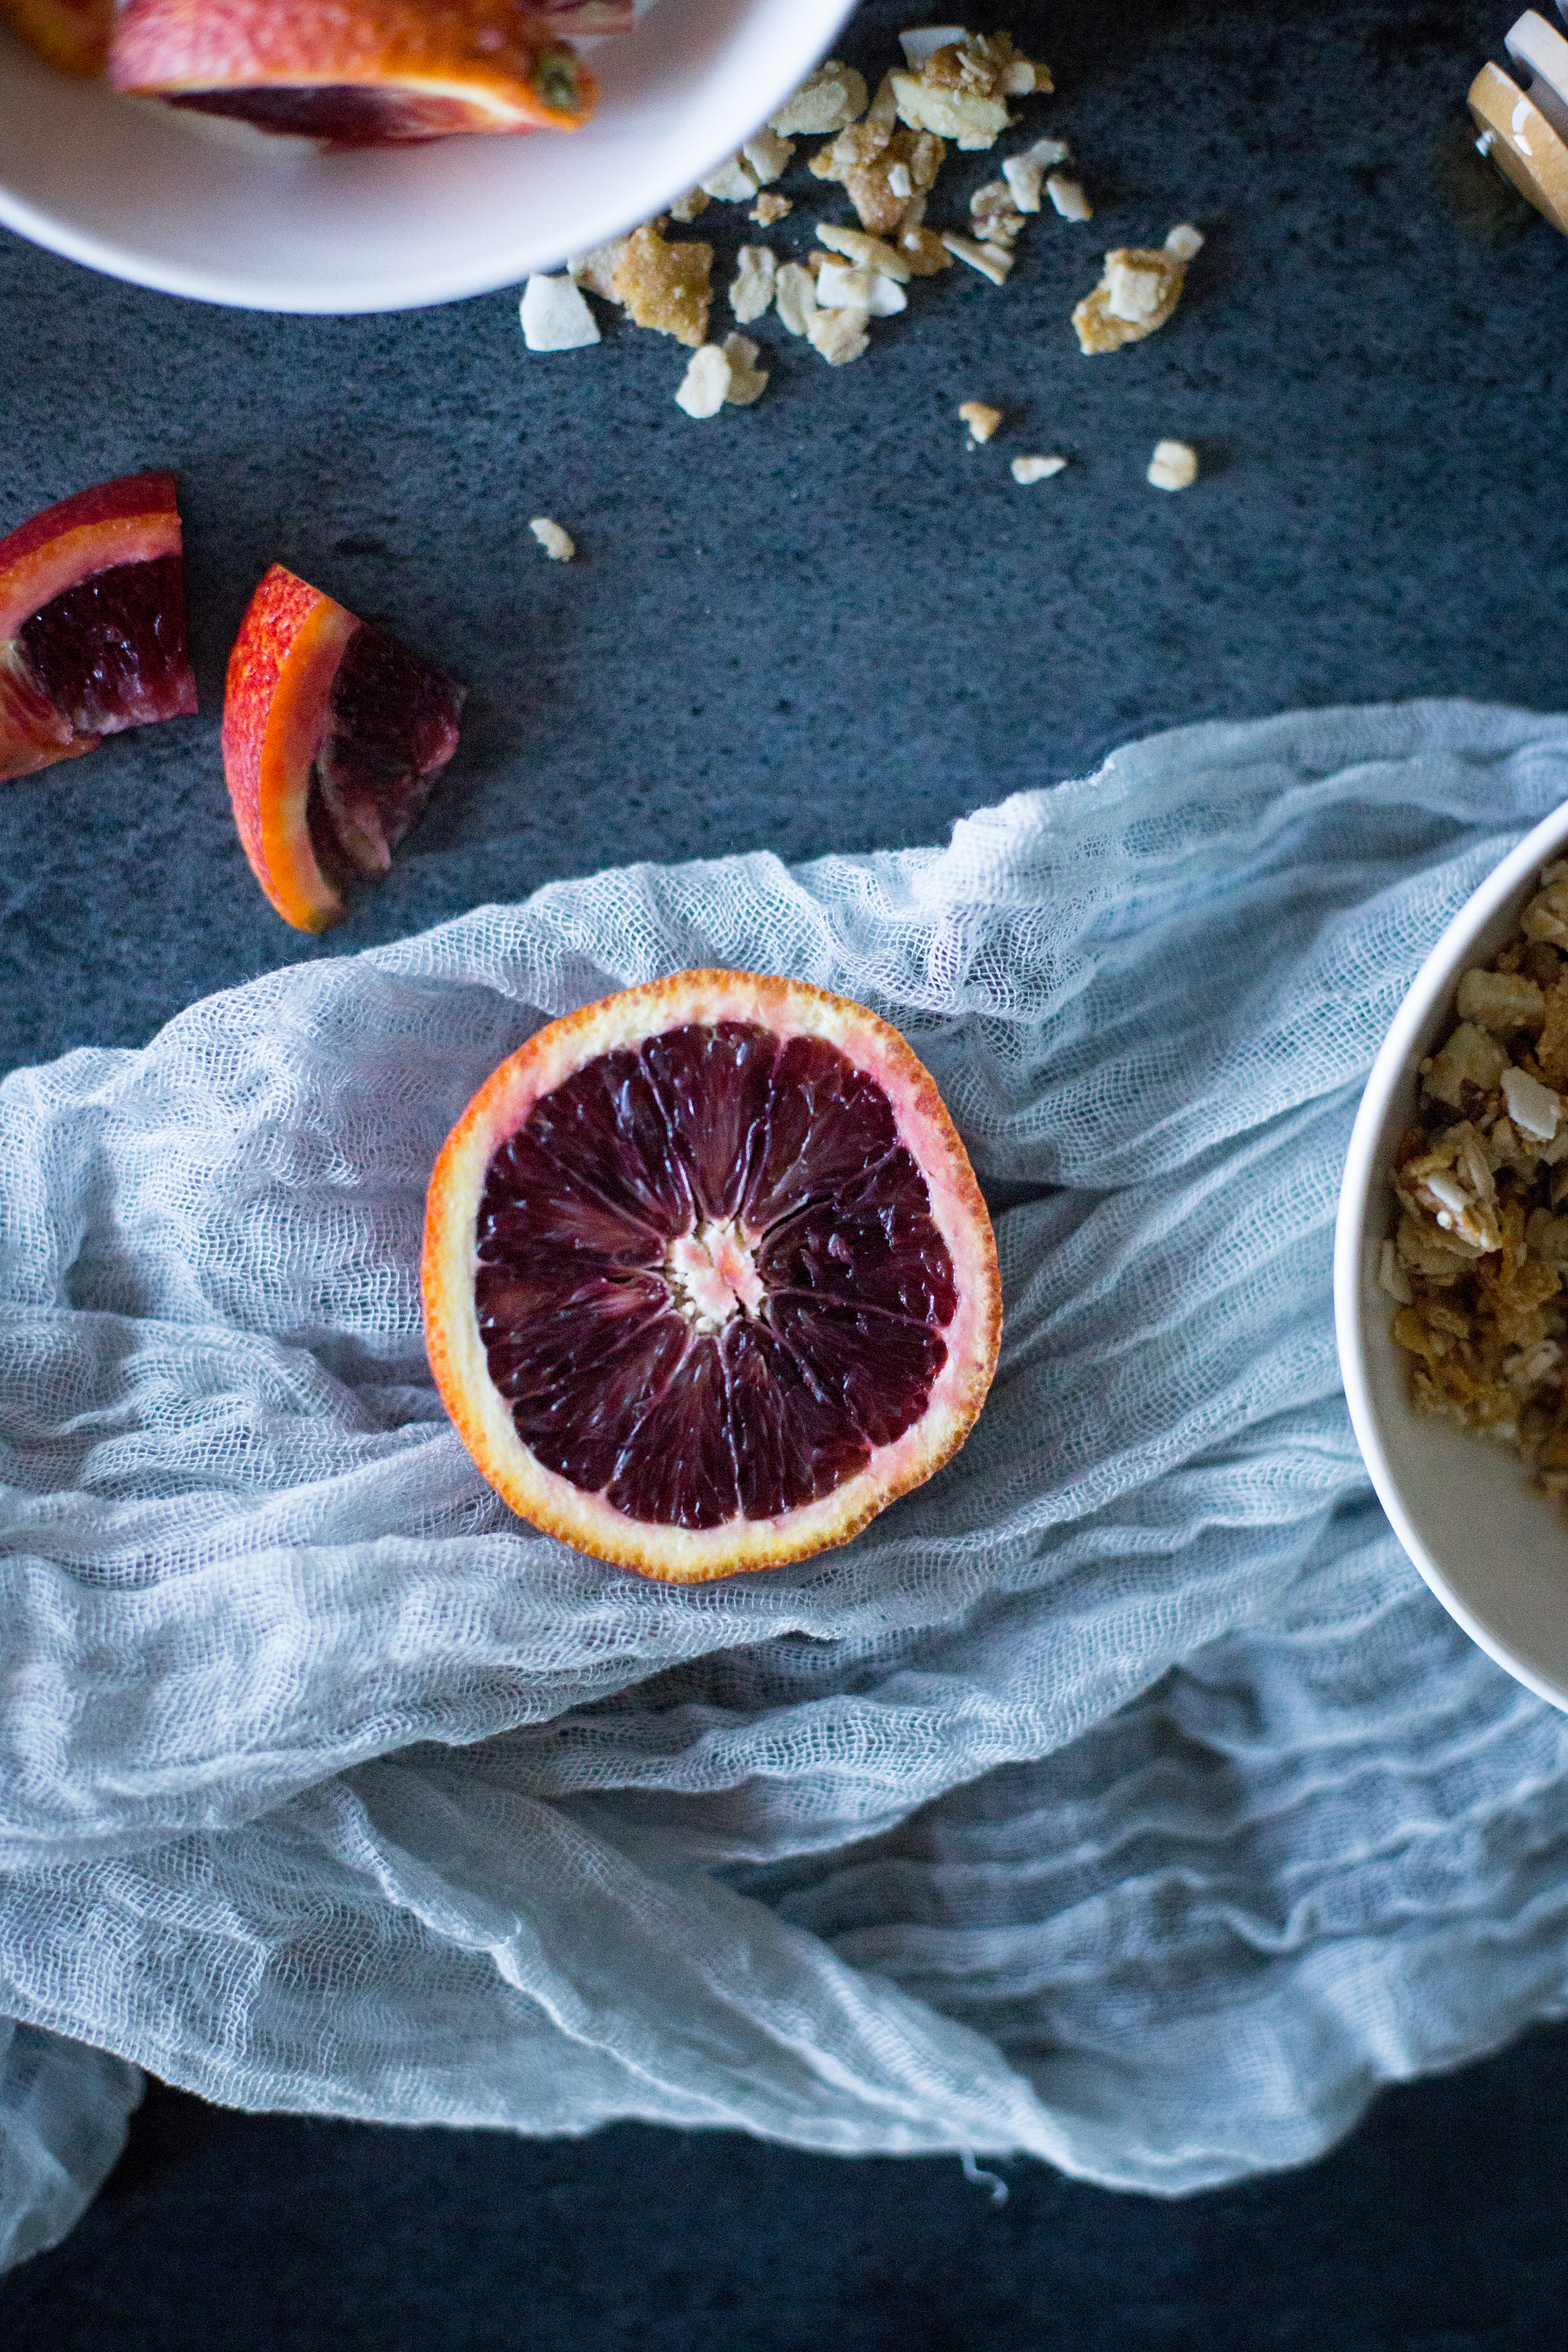
Add texture, props, and backdrops.
In every image, you’ll want to find basic art principles throughout. Outside of food itself, you’ll find texture in plates, the softness of fabric, and wood or marble. Keep a variety of backdrops on hand for adding variety and visual interest to your collection of images. Regardless of your budget, accumulate a capsule of props you can use over and over again. Right now you’ll find stunning ceramics and stoneware that add an earthiness and beautiful texture to images. I love to add marble, wood, and small ceramics in addition to plates in an image. White dishes and wood contrast beautifully and are modern. In our prop capsule we currently have 7 napkin textures, 4 plate designs, and countless small bowls. You can find stunning pieces whether at thrift store or a big box store. Build collections based on your shoots and the long term use (rather than overly seasonal items). For additional visual interest, you can items like seasonal blooms that pair well with the colors of the food.
Acknowledge food and lifestyle photography are wildly different than shooting portraits.
There’s a myth that shooting food and lifestyle photography is the same as shooting as shooting portraits. Can I tell you something? It’s wildly different. With food photography, food (which can often melt or quickly shift), your subject has countless variables you can control but need to be mindful. Note this as you begin and give yourself time to grow in your craft. I’ve posted below my first food image and then a similar one four years later. When you dedicate time to your craft, you will grow.
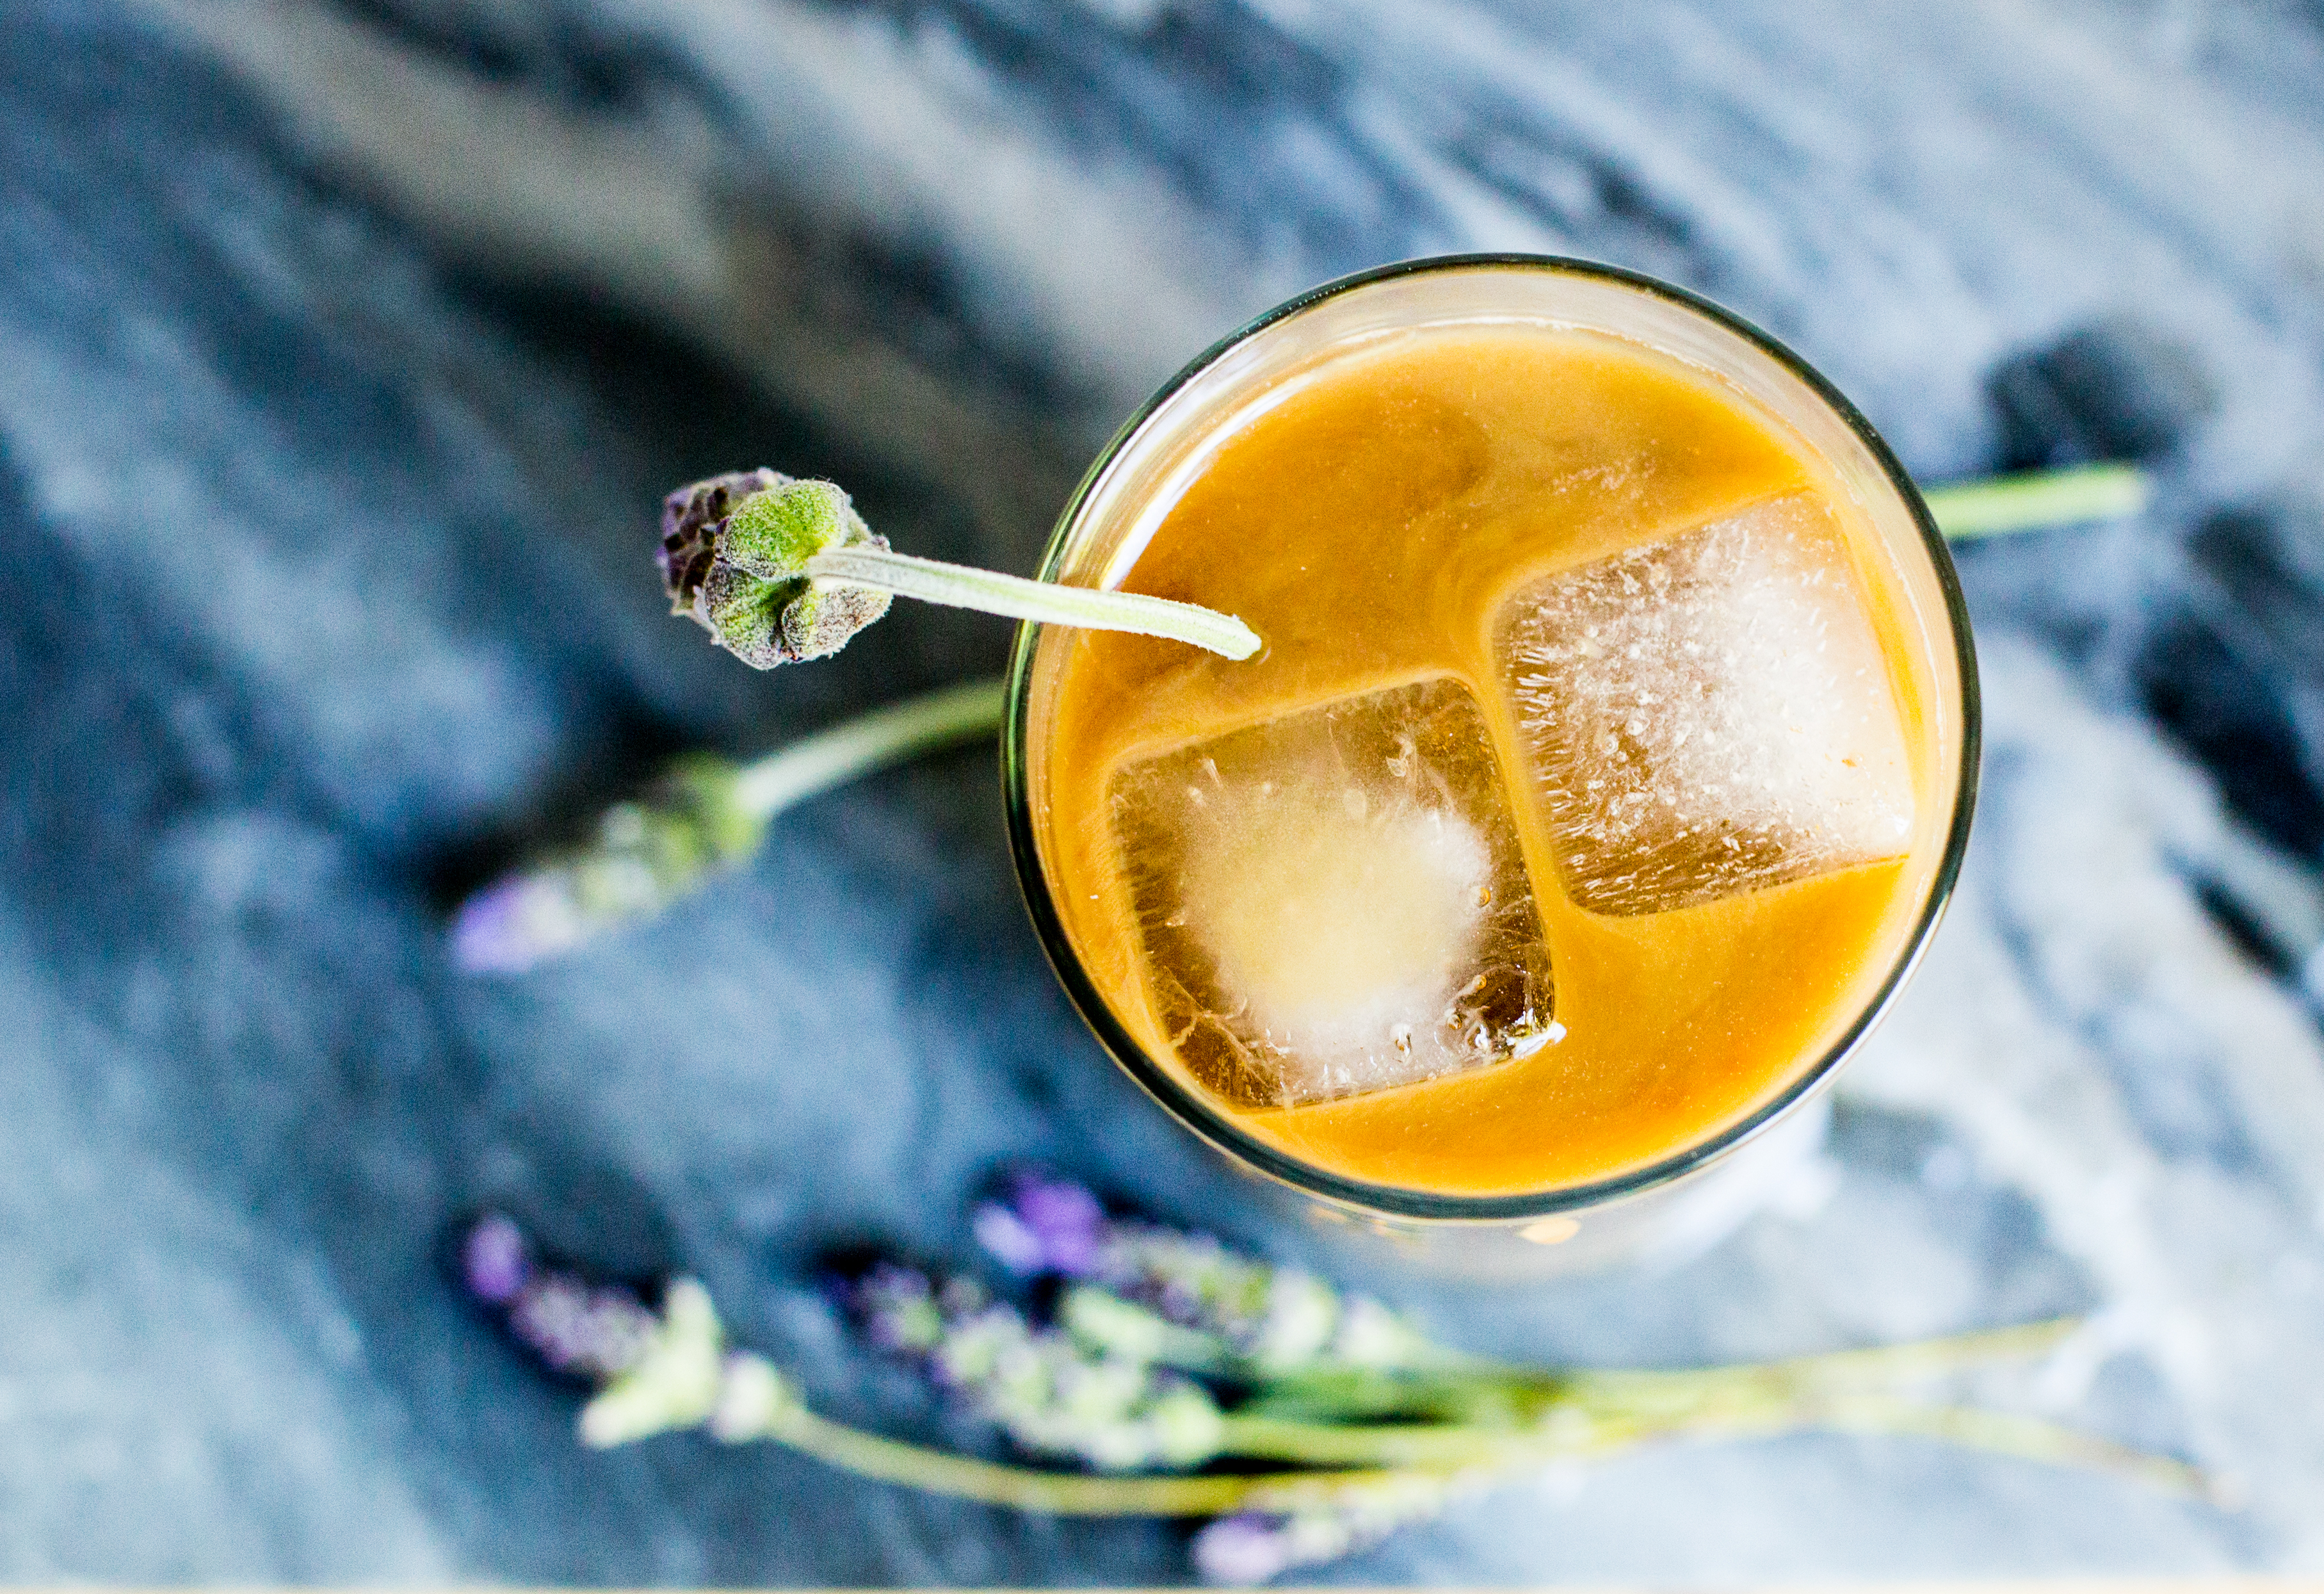 Iced Lavender Dirty Chai, 2017
Invest in great gear.
Start where you are with what you have, but nothing can take the place of quality gear. If you’re still choosing to shoot on a phone, it’s time to upgrade. I shot all the images on the blog with a simple setup of one camera body and two lenses. Shooting on a Canon 6D, this camera is now available for under $1000 and is the least expensive full frame HD camera within the Canon Line. For lenses, I have two prime focal length lenses both a 35 mm and 50 mm. The 50 mm is perfect for a shallow depth of field and bringing the details out of food within an image. Other great additions are a tripod with tilt and pan handle and vinyl backdrops with various texture options (I love marble, concrete, and subway tile to name a few)
Find inspiration everywhere.
There are stunning food images every where. Head to Pinterest and create three boards, Styled Shoot Ideas, Composition Ideas, and Editorial Shoot Ideas. Here you can catalogue your inspiration? As a creative, I encourage you to develop your skills by trying to recreate the images and learn. As you grow, tweak, change the content, and then publish something that is original and your own. You can follow our boards on Pinterest here.

Go for the Money Shot.
The shot of fresh berries with water droplets in a stunning vintage copper colander, the perfect frost on a bottle of beer at sunset, the stack of pancakes with perfectly poured syrup over a pile of berries and pads of butter. It’s the shot that everyone longs for and will get the highest engagement in your content. Push yourself and your craft to get it.
Develop a shot sheet.
Until styling is intuitive, build a shot sheet. Start out with the list below:
Food Photography Shot Sheet:
- Ingredients shot
- In process shot (both with human element and without)
- Finished product (0, 45, 180 angles)
- Styled flatlay
- Finished product long shot with setting
- Finished product medium shot with human element
Love today’s post and Ready to learn more? Get the Guide: Top Tricks for Food Styling